Easy Stained Glass Cookies
Highlighted under: Sweet Baking Collection
These Easy Stained Glass Cookies are a delightful treat that blend beautiful colors and sweet flavors, perfect for any occasion.
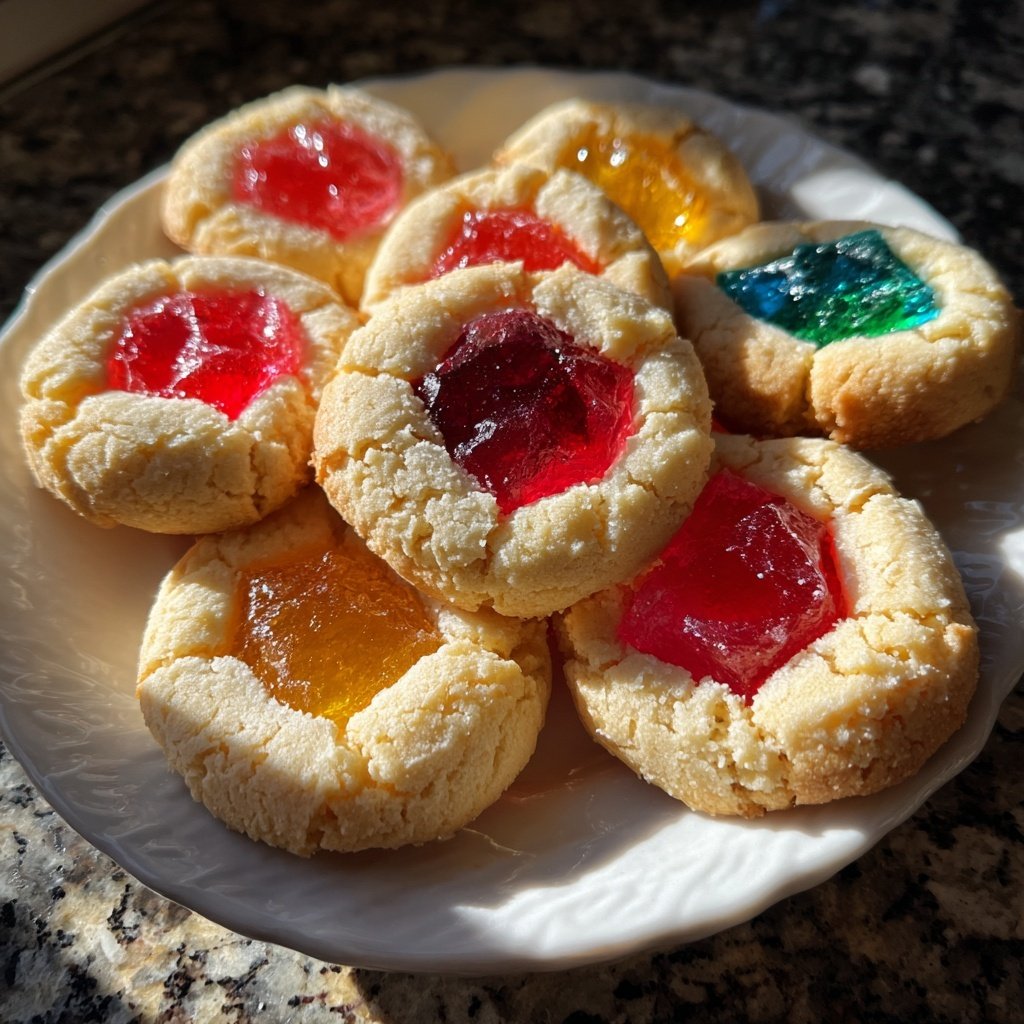
These cookies are not only fun to make but also bring a festive touch to any gathering. The vibrant colors of the melted candy center make them stand out on any dessert table.
Why You'll Love These Cookies
- Bright and colorful design that catches the eye
- Crispy edges with a chewy center for texture variety
- Perfect for holiday celebrations and gifting
A Colorful Twist on Classic Cookies
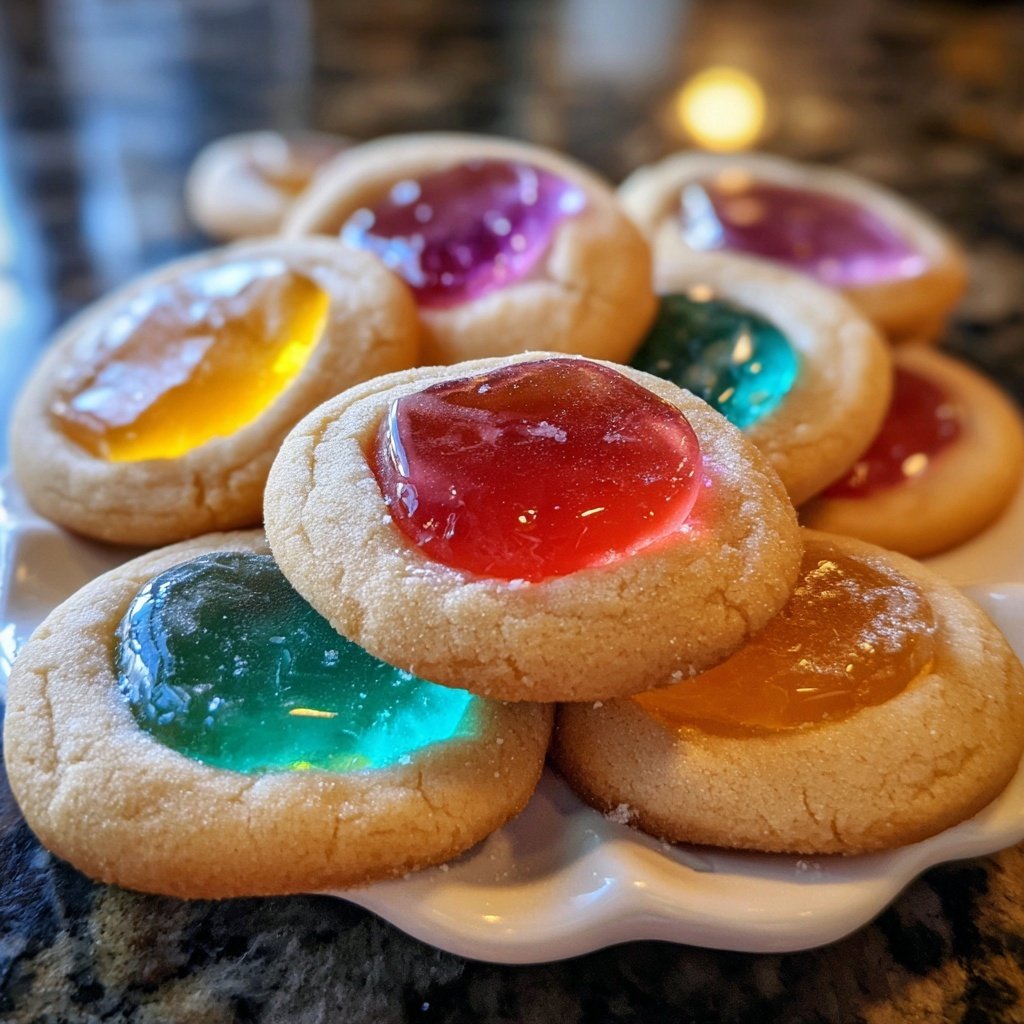
Stained glass cookies are not just treats; they are edible art! With their vibrant colors and unique designs, these cookies can brighten up any dessert table. The process of making them allows for creativity, as you can play with different shapes and colors of hard candies. Whether you're baking for a holiday party or just for fun, these cookies will surely impress your friends and family.
The combination of a classic sugar cookie base with the stunning visual appeal of melted candies is a winning duo. As the cookies bake, the candies melt and create a beautiful translucent center that resembles stained glass. This fun and interactive baking experience is perfect for kids and adults alike, making it a great activity to share with loved ones.
Perfect for Any Occasion
Easy Stained Glass Cookies are versatile enough to suit any occasion. Whether it's a festive holiday gathering, a birthday party, or simply an afternoon treat, these cookies add a special touch. They make fantastic gifts, especially when packaged in a decorative box or tin. The colorful design and delicious flavor will leave a lasting impression on anyone who receives them.
These cookies can also be customized for different themes and celebrations. By changing the colors of the food coloring and the types of hard candies used, you can create personalized cookies for birthdays, Halloween, Christmas, or any other special event. The possibilities are endless, and your creativity will shine through in each batch!
Tips for Success
To achieve the best results with your stained glass cookies, make sure to use high-quality hard candies that melt well. Brands like Jolly Ranchers and Life Savers are excellent choices. Crushing them into small pieces is essential; larger chunks may not melt properly, leaving you with uneven and unsightly cookie centers. A rolling pin and a sturdy bag or food processor work wonders for this task.
Chilling the dough is another crucial step in ensuring that your cookies maintain their shape during baking. If the dough becomes too warm, it can spread out, leading to misshapen cookies. After cutting out the shapes, you can chill them again briefly before baking to help achieve that perfect cookie shape.
Ingredients
Cookie Dough
- 2 3/4 cups all-purpose flour
- 1 teaspoon baking powder
- 1/2 teaspoon salt
- 1 cup unsalted butter, softened
- 1 cup granulated sugar
- 1 large egg
- 1 teaspoon vanilla extract
- Food coloring (various colors)
Candy Filling
- 1 cup crushed hard candies (like Jolly Ranchers or Life Savers)
Make sure to use a variety of colors for a beautiful stained glass effect!
Instructions
Prepare the Dough
In a bowl, whisk together flour, baking powder, and salt. In a separate bowl, cream together the butter and sugar until light and fluffy. Beat in the egg and vanilla, then gradually add the flour mixture until combined.
Chill the Dough
Wrap the dough in plastic wrap and refrigerate for at least 1 hour.
Roll Out and Cut
Preheat your oven to 350°F (175°C). Roll out the dough on a lightly floured surface to about 1/4 inch thick. Use cookie cutters to cut out shapes, and then cut out the centers of each cookie using smaller cutters.
Fill with Candy
Place the cookies on a baking sheet lined with parchment paper. Fill the centers with crushed candies.
Bake
Bake for 8-10 minutes or until the edges are lightly golden and the candy has melted. Let cool on the baking sheet for a few minutes before transferring to a wire rack to cool completely.
Once cooled, the cookies will have a beautiful stained glass effect!
Pro Tips
For a fun variation, try using flavored candies to add different tastes to your cookies.
Storage Tips
Stained glass cookies can be stored in an airtight container at room temperature for up to a week. To keep them fresh, ensure they are completely cooled before stacking them in the container. If you wish to maintain their vibrant colors, avoid storing them in direct sunlight or near heat sources.
If you have leftover dough, you can refrigerate it for up to three days or freeze it for longer storage. Just wrap the dough tightly in plastic wrap and place it in a freezer-safe bag. When you're ready to use it, thaw it in the refrigerator overnight before rolling it out.
Variations to Try
Feel free to experiment with different cookie flavors! You can add cocoa powder to the dough for a chocolate version or incorporate spices like cinnamon or nutmeg for a warm flavor profile. Additionally, consider using flavored extracts such as almond or lemon to add an extra layer of deliciousness.
For an adventurous twist, you can also try using different types of candy fillings. Sour candies can add a delightful contrast to the sweetness of the cookie, while gummy candies can provide a fun texture. Just remember to adjust your baking time based on the type of candy you choose!
Questions About Recipes
→ Can I use different types of candies?
Yes, feel free to experiment with different hard candies for unique colors and flavors.
→ How should I store these cookies?
Store them in an airtight container at room temperature for up to a week.
→ Can I freeze the cookie dough?
Absolutely! You can freeze the dough for up to three months. Just thaw it in the fridge before rolling and cutting.
→ What if the candy doesn't melt properly?
Make sure to crush the candies into small pieces and avoid overbaking, which can cause them to harden.
Easy Stained Glass Cookies
Created by: Natalie Evans
Recipe Type: Sweet Baking Collection
Skill Level: Intermediate
Final Quantity: 24 cookies
What You'll Need
Cookie Dough
- 2 3/4 cups all-purpose flour
- 1 teaspoon baking powder
- 1/2 teaspoon salt
- 1 cup unsalted butter, softened
- 1 cup granulated sugar
- 1 large egg
- 1 teaspoon vanilla extract
- Food coloring (various colors)
Candy Filling
- 1 cup crushed hard candies (like Jolly Ranchers or Life Savers)
How-To Steps
In a bowl, whisk together flour, baking powder, and salt. In a separate bowl, cream together the butter and sugar until light and fluffy. Beat in the egg and vanilla, then gradually add the flour mixture until combined.
Wrap the dough in plastic wrap and refrigerate for at least 1 hour.
Preheat your oven to 350°F (175°C). Roll out the dough on a lightly floured surface to about 1/4 inch thick. Use cookie cutters to cut out shapes, and then cut out the centers of each cookie using smaller cutters.
Place the cookies on a baking sheet lined with parchment paper. Fill the centers with crushed candies.
Bake for 8-10 minutes or until the edges are lightly golden and the candy has melted. Let cool on the baking sheet for a few minutes before transferring to a wire rack to cool completely.
Extra Tips
For a fun variation, try using flavored candies to add different tastes to your cookies.
Nutritional Breakdown (Per Serving)
- Calories: 120 kcal
- Total Fat: 6g
- Saturated Fat: 4g
- Cholesterol: 20mg
- Sodium: 50mg
- Total Carbohydrates: 16g
- Dietary Fiber: 0g
- Sugars: 8g
- Protein: 1g